How to Create AI Talking Head Videos with OmniHuman v1.5
A step-by-step tutorial for creating professional AI talking head videos using OmniHuman v1.5 on Seedance. Learn photo selection, audio preparation, prompt writing, and optimization techniques for the best results.
Your first OmniHuman v1.5 talking head video takes about ten minutes end to end — and it costs exactly $9.60. This tutorial shows you every step, every input decision, and every quality trick we have learned from generating thousands of talking head videos on the platform.
TL;DR
- You need one portrait photo, one audio file, and a short scene prompt
- Each generation costs 960 credits (~$9.60) — no subscription
- Choose 720p for 60-second clips or 1080p for 30-second clips
- Good photo + clean audio + specific prompt = professional result on the first try
- Turbo mode for iteration, standard mode for hero content
What You Need Before You Start
Three inputs, no exceptions:
- A portrait photo — head and shoulders, well-lit, minimum 512x512 pixels
- An audio file — MP3, WAV, or M4A, clean speech, up to 60 seconds
- A scene prompt — a short description of the background and lighting
Plus a Seedance account with at least 960 credits. New accounts get 50 free credits on signup, but a talking head costs 960, so you will need at least a $10 Starter pack to run your first video.
Create your AI presenter now
Turn one photo + audio into a lifelike talking video. $9.60 per video, no subscription.
Try OmniHuman FreeStep 1: Pick or Create the Right Photo
The photo is the single biggest quality lever in the entire workflow. Feed the model a great photo and it will return a great video. Feed it a rushed phone snap and the output will reflect that.
What Makes a Great Reference Photo
- Even lighting. Diffused natural light or soft studio light. No harsh shadows across the face.
- Clear face. Eyes open, no glasses glare, no hair covering features, no hands near the face.
- Right framing. Head and shoulders visible. Face occupies at least 30% of the frame.
- Neutral expression. A relaxed or mildly pleasant face gives the model the most flexibility.
- Clean background. High contrast between subject and background helps the model isolate identity.
- Sharp resolution. 1024x1024 or larger. No motion blur.
Don't Have a Photo? Generate One
If you need a reference photo you do not already have — for a virtual spokesperson, a persona, or a character — use Seedream to generate one. Prompt for "professional headshot of [description], soft studio lighting, neutral background, looking at camera" and pick the cleanest result.
Formats
JPEG and PNG both work. Transparent backgrounds are acceptable. The platform accepts photos up to several megabytes.
Step 2: Prepare Clean Audio
Your audio determines the lip sync, the facial expression, and the gesture pattern. The cleaner the audio, the more the model has to work with.
Recording Options
Record yourself. A quiet room and a decent USB microphone will produce audio clean enough for OmniHuman. Speak at a natural pace, with natural pauses. Do not over-enunciate.
Use a TTS service. Any quality text-to-speech tool works — ElevenLabs, Play.ht, Google, Amazon Polly. Export at 44.1kHz or 48kHz mono or stereo.
Extract from existing audio. A podcast segment, a webinar clip, or a voiceover recording all work as long as speech is isolated.
Audio Dos and Don'ts
- Do trim leading and trailing silence
- Do normalize audio levels to prevent clipping
- Don't leave music or heavy ambient sounds in the mix
- Don't use reverb-heavy room recordings
- Don't exceed the duration cap: 60s for 720p, 30s for 1080p
Step 3: Write a Scene Prompt That Helps
The scene prompt describes the visual environment around your presenter. It does not describe the person — the model gets that from the photo.
Good Prompt Structure
A strong prompt includes four elements:
- Background — where is the person?
- Lighting — how is the scene lit?
- Framing — how close is the camera?
- Style — any notes on tone or finish?
Example Prompts That Work
Modern corporate office with large windows, soft natural lighting from the left, medium close-up framing head and shoulders, professional broadcast style.
Minimalist studio setting with a soft gradient backdrop, even studio lighting, medium shot, clean and contemporary look.
Warm home office with bookshelves in the background, golden afternoon sunlight, medium close-up, natural and approachable tone.
What to Avoid in Prompts
- Do not describe the person (hair color, age, outfit) — the photo handles that
- Do not contradict the photo (no "white background" if the photo has a black background, unless you really want the model to replace it)
- Do not use vague phrases like "good lighting" — pick a specific light source
- Do not overload the prompt with more than five or six details
Step 4: Upload and Configure
Open seedance.it.com and select OmniHuman v1.5, or go straight to the model page.
Upload Order
- Reference photo — drag the portrait into the image slot
- Audio file — drop the speech file into the audio slot
- Scene prompt — paste your scene description
Configure the Settings
- Resolution: 720p for drafts or clips longer than 30s, 1080p for professional final renders
- Turbo mode: on for iteration, off for final quality
- Review credit cost: the UI will confirm 960 credits before you generate
Step 5: Generate and Review
Click generate. Standard mode takes several minutes. Turbo mode is faster. You will get a notification when the video is ready.
Reviewing the Output
Play the video at full size and check these four things:
- Lip sync — do mouth shapes match the phonemes?
- Identity — does the face look like the reference throughout?
- Gesture naturalism — does motion feel organic, not robotic?
- Background consistency — does the scene match your prompt?
If any of these feel off, the fix is almost always in the inputs, not a re-roll. Swap photo, clean audio, or tighten the prompt.
Ready to try OmniHuman v1.5? Start creating free →

Want a presenter like this? Try OmniHuman free →
Advanced Tips from Real Production Workflows
Use Turbo for Exploration, Standard for Finals
Turbo mode still costs 960 credits per generation, but it trims the wait. Use it to test different prompts or audio takes quickly, then render the final version in standard mode.
Match Audio Emotion to Reference Expression
If your photo shows a neutral face but your audio is highly animated, the model will generate lots of motion. If the audio is calm and the photo is smiling, expect subtle variation. Match them for predictable results.
Split Long Content into Segments
Need a 90-second video? Split the audio into two segments (e.g., 45s each), generate two 720p clips, and stitch them in any video editor. Identity stays consistent because you are using the same reference photo.
Prep Multiple Photos for the Same Person
Having three or four reference photos of the same person — different outfits, different lighting, different expressions — lets you match the photo to the content tone. A warm anecdote gets a warmer photo; a corporate update gets the headshot.
Keep a Prompt Library
Save scene prompts that worked. "Minimalist studio gradient" or "modern office window light" can be reused across projects for visual consistency.
Common Mistakes and How to Fix Them
Lip sync feels slightly off
- Check audio quality. Noise, compression artifacts, or low bitrate hurt phoneme extraction
- Check duration. Clips at exactly the cap can get clipped on the last frame — aim for a second under
- Try a cleaner recording or re-export at higher bitrate
Face looks "plasticky" or too smooth
- Use a higher-resolution photo. Sub-512px input produces soft output
- Adjust prompt lighting to "natural" instead of "studio" for more texture
Gestures look too subtle
- Use more expressive audio. Monotone speech produces minimal gesture variation
- Select a photo with slightly open posture rather than stiff frontal framing
Background doesn't match the prompt
- Be more specific. "Office" is vague; "modern office with a bookshelf behind the subject and a large window on the left" is actionable
- Match photo context. The model weighs the photo background as a reference
Cost Math for Different Projects
Every OmniHuman v1.5 video costs 960 credits (~$9.60). Here is what that looks like in practice:
| Project | Videos Needed | Total Cost | |---|---|---| | Single LinkedIn post | 1 | $9.60 | | Five-video welcome series | 5 | $48 | | Ten-lesson course | 10 | $96 | | Weekly updates for a year | 52 | $499.20 |
Compare that to HeyGen's $24-$48 per month (even in months you create nothing) or Synthesia's $30-$90 per month. At low and moderate volumes, OmniHuman saves hundreds per year. See the full pricing breakdown for every tier.
Pay per video, not per month
Every talking head is $9.60 — no subscription to cancel, no monthly minimum. Credits never expire.
Generate Your First VideoYour First Video Checklist
- [ ] Portrait photo, 1024x1024 or larger, well-lit, neutral expression
- [ ] Clean audio file, under 60 seconds, no music or reverb
- [ ] Scene prompt with background, lighting, framing, style
- [ ] Seedance account with at least 960 credits
- [ ] Resolution choice (720p or 1080p)
- [ ] Turbo mode decision
- [ ] Open OmniHuman v1.5 and generate
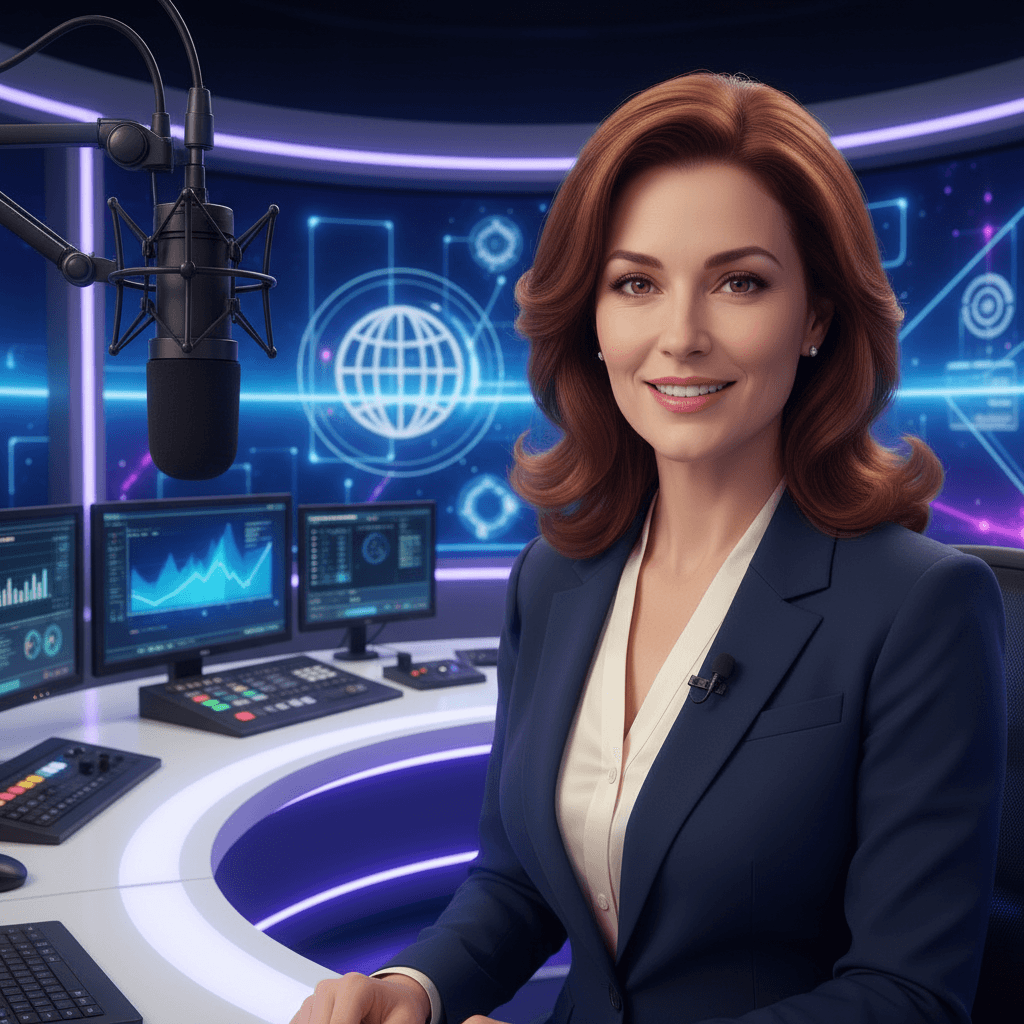
Once you have shipped your first talking head, explore the lip sync technical guide, the multilingual workflow guide, and use-case specific tutorials like news anchors and corporate training.
Ready to try OmniHuman v1.5? Start creating free →